

A Pod that peels up after a workout, catches on a shirt, or runs out of insulin early creates more than an inconvenience. It can interrupt insulin delivery and force an unplanned site change. Learning how to make Omnipod last means helping it perform reliably for its intended wear period - not attempting to extend it beyond the expiration time or instructions for your specific Pod.
A dependable wear cycle starts before the Pod is applied. Site condition, skin preparation, insulin planning, and daily protection all matter. The goal is simple: secure adhesion, a healthy infusion site, and enough insulin to get through the scheduled change without compromising safety.
Start with the Pod's intended wear time
Every Omnipod system has its own approved wear instructions. Follow the directions supplied with your Pod and the plan established by your diabetes care team. Do not try to keep a Pod in use after it expires, reset it, or use insulin delivery beyond the manufacturer-designated wear period.
This distinction matters. A Pod may physically remain attached after its scheduled change time, but secure adhesion is not the same as safe, reliable insulin delivery. Insulin can be affected by heat exposure, and an infusion site can become less dependable over time. “Making it last” should mean getting a full, trouble-free scheduled wear cycle whenever possible.
If you routinely need to replace Pods early, look for the pattern. Is the issue lifting adhesive, irritation, a site that becomes uncomfortable, high glucose that does not respond as expected, or insufficient insulin volume? The right fix depends on the reason for the failure.
Choose a site built for real life
A good Pod site has enough healthy subcutaneous tissue, stays away from areas likely to bend or rub, and is practical for your day. Your approved placement areas depend on your specific Omnipod model, so use the current product instructions as your guide.
In general, avoid skin that is irritated, bruised, scarred, sunburned, or affected by a rash. Also avoid places that sit directly under waistbands, tight athletic clothing, bra bands, backpack straps, or the edge of a seat. Constant pressure and friction can loosen the adhesive, make the site sore, or interfere with the cannula.
Rotation is not optional. Reusing the same small area can contribute to lipohypertrophy - thicker or firmer tissue that may absorb insulin unpredictably. Rotate through your approved sites methodically, giving each area time to recover. A simple rotation pattern is often easier to follow than choosing a spot at random when it is time for a change.
Consider your schedule before placement
Placement should fit your next few days, not just the next few hours. If you have swimming, a long run, hot outdoor work, a contact sport, or a formal event planned, select a site with less exposure to friction and impact.
For example, a site that works well during a desk-heavy week may be a poor choice before a beach weekend. Planning around clothing, movement, and activity gives the adhesive a better chance of staying secure through the full cycle.
Prepare skin carefully, then let it dry
Skin preparation is one of the most controllable factors in Pod adhesion. Oils, lotion, sunscreen residue, sweat, and damp skin can all weaken the adhesive bond.
Start with clean, dry skin. If you use an alcohol-free skin prep wipe, apply it according to its directions and allow the area to dry completely before placing the Pod. Alcohol-free options can be useful for people whose skin feels dry or irritated with frequent alcohol use, but the key is still a clean, fully dry surface.
Do not apply the Pod over body lotion, oil, moisturizer, or sunscreen. If you have recently exercised, showered, or used a hot tub, wait until your skin is cool and completely dry. Applying a Pod while skin is warm or sweaty often leads to early edge lifting.
If hair is preventing a flat seal, carefully trim it rather than shaving immediately before application. Freshly shaved skin can be more sensitive and may develop irritation under adhesive. Your best approach may take some trial and error, especially if you have sensitive skin or a history of adhesive reactions.
Apply with steady pressure and protect the edges
Once the Pod is positioned, press it firmly and evenly against the skin. Focus on the adhesive perimeter rather than pressing hard on the center. Hold gentle pressure long enough to support full contact, then check that the edges lie flat.
Give a newly applied Pod time to bond before heavy sweating, swimming, or a vigorous workout when your schedule allows. Adhesive generally performs better when it has a chance to settle on clean, dry skin instead of being immediately exposed to heat and moisture.
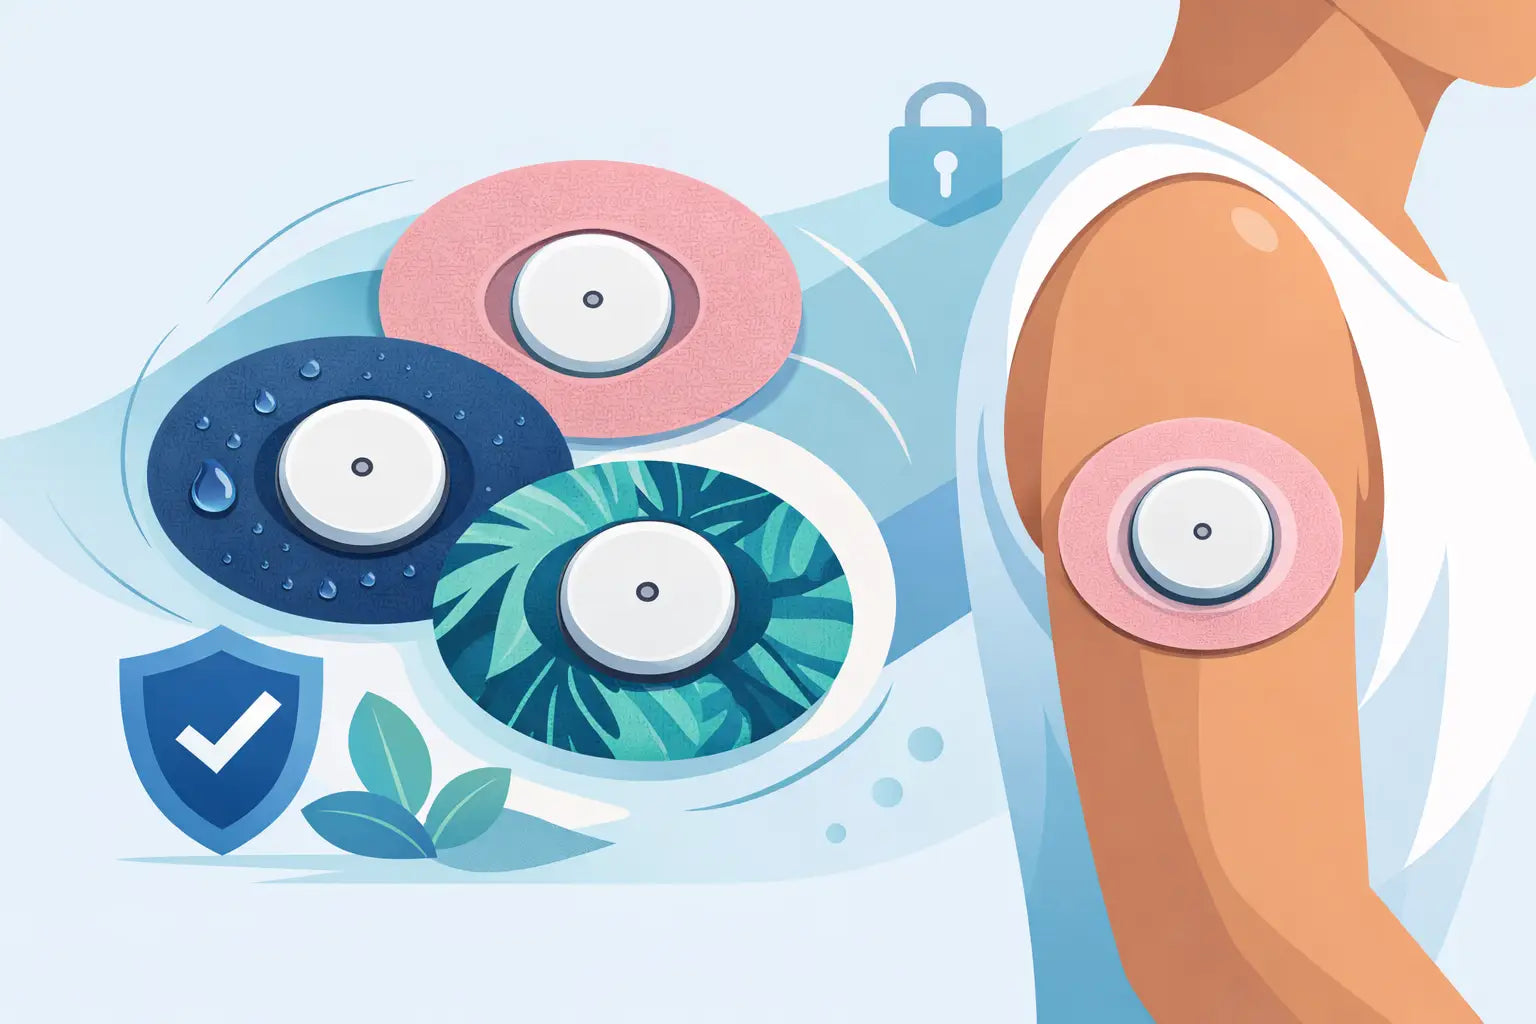
An overpatch can provide useful reinforcement when you are active, swim regularly, work outdoors, or know that a particular site tends to lift. Choose a patch designed for Pod wear, with a cutout or shape that avoids covering critical components or interfering with how the Pod functions. Apply it smoothly without stretching the patch too tightly, since excessive tension can pull at the skin as you move.
OHMRX waterproof adhesive patches are designed for real-world device wear, including sweat, showers, and everyday movement. For best performance, apply any overpatch to clean, dry skin and replace the Pod as directed rather than using adhesion support to extend wear past its approved limit.
Plan insulin so the reservoir does not become the weak point
Sometimes a Pod does not last because its adhesive fails. Sometimes it simply runs low on insulin before the scheduled change. Review your typical total daily insulin use with your diabetes care team, particularly if your needs vary significantly between workdays, weekends, exercise days, illness, or menstrual-cycle phases.
Only fill the Pod within the minimum and maximum amounts specified for your model. Do not overfill it to avoid a change, and do not alter settings on your own to stretch the supply. If you consistently run out early, your clinician can help determine whether the issue is basal needs, meal dosing, corrections, missed boluses, carb-counting accuracy, or another factor.
Heat also deserves attention. Do not leave a Pod or insulin supply exposed to intense sun, hot vehicles, heating pads, or other prolonged heat sources. A Pod can stay attached while the insulin inside becomes less reliable. When high glucose is unexplained or does not respond as expected, follow your diabetes action plan and consider a site or Pod issue rather than assuming the problem will resolve on its own.
Protect the Pod during everyday movement
Most Pod wear failures happen during ordinary moments: changing clothes, drying off with a towel, carrying a child, sleeping on one side, or catching the device on a door frame. Awareness helps without requiring you to organize your life around the device.
Choose clothing that does not repeatedly rub the Pod. When toweling off, pat around it rather than dragging the towel across the edges. Be mindful when changing fitted tops or sports bras, and consider a protective overpatch before high-friction activities.
Water exposure is part of normal life, but it changes the adhesion equation. After swimming or showering, pat the area dry. Avoid picking at a lifted edge, since small lifts can become larger once water and movement get underneath. If an overpatch begins to peel, add support only if it can be applied cleanly and does not affect the Pod's operation. When in doubt, follow the Pod manufacturer’s guidance or contact its support team.
Know when a Pod should be changed early
Trying to save a Pod is never worth ignoring a potential insulin-delivery problem. Change the Pod and follow your prescribed backup plan when you have a system alert requiring removal, a dislodged or damaged Pod, significant bleeding at the site, worsening pain, redness, warmth, swelling, drainage, or signs of infection.
Unexplained high glucose is another important signal. Check your glucose and ketones according to your diabetes care plan, especially if glucose remains elevated despite a correction or if you feel unwell. Seek urgent medical care for symptoms that may indicate diabetic ketoacidosis, such as vomiting, abdominal pain, rapid breathing, confusion, or inability to keep fluids down.
A Pod that is uncomfortable, leaking, or visibly loose is not a candidate for “one more day.” Reliable diabetes technology depends on timely action when something is not working as expected.
Build a repeatable change-day routine
The most practical way to reduce early replacements is consistency. Keep your supplies together, rotate sites on purpose, apply on clean dry skin, and use an overpatch when your activity level calls for it. Note any sites that repeatedly fail or cause irritation so you can avoid them next time.
A full, reliable Pod wear cycle is less about pushing the device further and more about removing the avoidable reasons it fails early. Thoughtful site selection and skin-conscious adhesion support help your Pod stay where it belongs while you get on with real life.

Leave a comment
This site is protected by hCaptcha and the hCaptcha Privacy Policy and Terms of Service apply.